Screenshot Panel
The Screenshot panel is shown on the left side of the Session Inspector. It shows a screenshot of the current device screen, and also provides several ways of interacting with this screenshot.
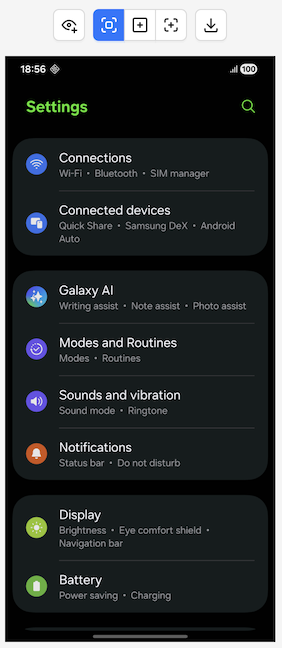
Screenshot Size
The panel automatically adjusts its size depending on the screenshot dimensions and orientation:
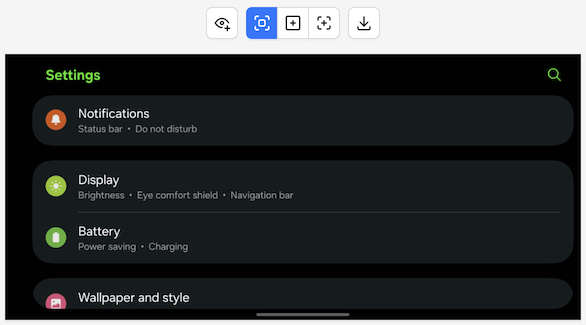
On session startup, if required, the Inspector will try to scale down the screenshot to fit either the full window height, or 50% of the window width.
It is also possible to manually adjust the screenshot size using the divider line on the right side of the panel. The size can be anywhere between 150px in width, and the aforementioned upper limits. This can be especially useful for devices with low resolution screens such as smartwatches, since increasing the panel width will also zoom into the image.
For devices with multiple screens, the Inspector will only show a screenshot of the default display, however, on supported devices it is possible to switch the active display using the Display Switcher button.
Refreshing the Screenshot
By default, the screenshot itself is a static image, which is only updated when a refresh is requested, exactly like for the Source tab. Interacting with the application outside of the Inspector will not cause the screenshot to refresh.
However, it is possible to have the screenshot update automatically, and always mirror the actual
device screen, even when interacting with the device outside of the Inspector. This can be achieved
by using MJPEG session capabilities, such as appium:mjpegServerPort.
Screenshot Panel Header
The panel header contains several buttons for interacting with the screenshot.
Screenshot Origin
Info
These buttons are only shown when using MJPEG screenshotting capabilities like
appium:mjpegServerPort.
The Screenshot Origin buttons allow switching the source of the rendered screenshot between the MJPEG stream and the W3C WebDriver screenshot endpoint. This functionality can be useful in case the MJPEG server is unreachable or has other issues.
Toggle Element Handles

This button toggles the visibility of highlighter handles for all identified elements.
Info
Highlighter handles are only visible in Element Mode and Tap By Element Mode.
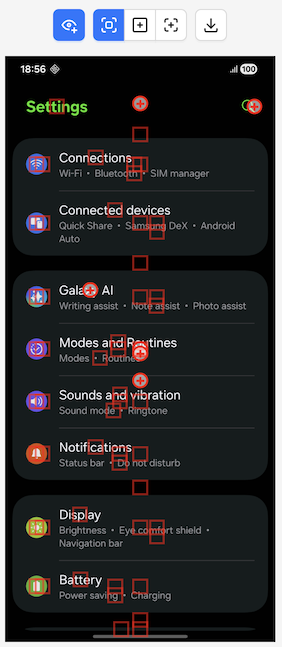
Highlighter handles can be very useful if there are multiple elements overlapping around the same
coordinates. Such element handles are merged together in a single group handle, identified by the
+ symbol. This group handle can then be clicked to reveal the individual highlighter handles,
enabling the selection of each individual element.

Interaction Mode
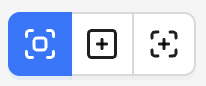
The Interaction Mode buttons allow switching between the default Element Mode, Tap By Element Mode, and the Coordinates Mode. The differences are as follows:
Mode |
Description |
|---|---|
| Element Mode | In this mode, hovering over the screenshot will highlight any detected elements. Clicking on any highlighter will then select the corresponding element in the application source, and show its details in the selected element panel. |
| Tap By Element Mode | In this mode, hovering over the screenshot will highlight any detected elements, just like in Element Mode. However, clicking on a highlighter immediately selects and taps that element (equivalent to clicking Tap Element in the selected element panel), using its element locator rather than raw coordinates. This is useful for quickly recording a sequence of element taps while recording. |
| Coordinates Mode | In this mode, the top left corner of the screenshot will show an coordinates overlay. Hovering over the screenshot will update this overlay with the coordinates on the device screen, and clicking or swiping the screenshot will execute a tap/swipe action on the device. |
Download Screenshot

Info
This button is disabled when using MJPEG screenshotting capabilities like
appium:mjpegServerPort.
This button allows to save the currently shown screenshot to your computer as a .PNG file.