Full Manual Configuration
The provisioning profile can also be manually associated with the WDA project. Keep in mind that this will have to be done each time WDA is updated (such as when updating the XCUITest driver), and is not recommended:
- In the terminal, open the directory where WDA is located. Run the following to set the project up:
- Open
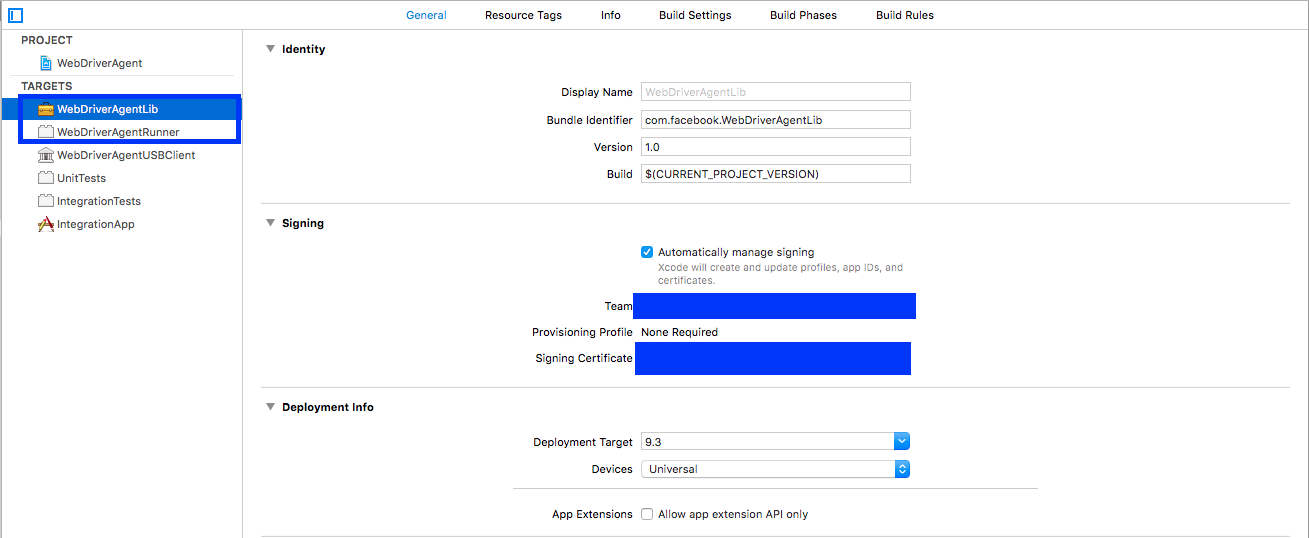
WebDriverAgent.xcodeprojin Xcode. This will likely open a screen with an empty editor. - In the file browser on the left side, select the root WebDriverAgent project, which will open it in the editor. Then, under Targets, select WebDriverAgentRunner (or WebDriverAgentRunner_tvOS for tvOS), and switch to the Signing & Capabilities tab.
-
Check Automatically manage signing, and then select your Team (you may need to first sign into Xcode). The outcome should be similar to the following:
-
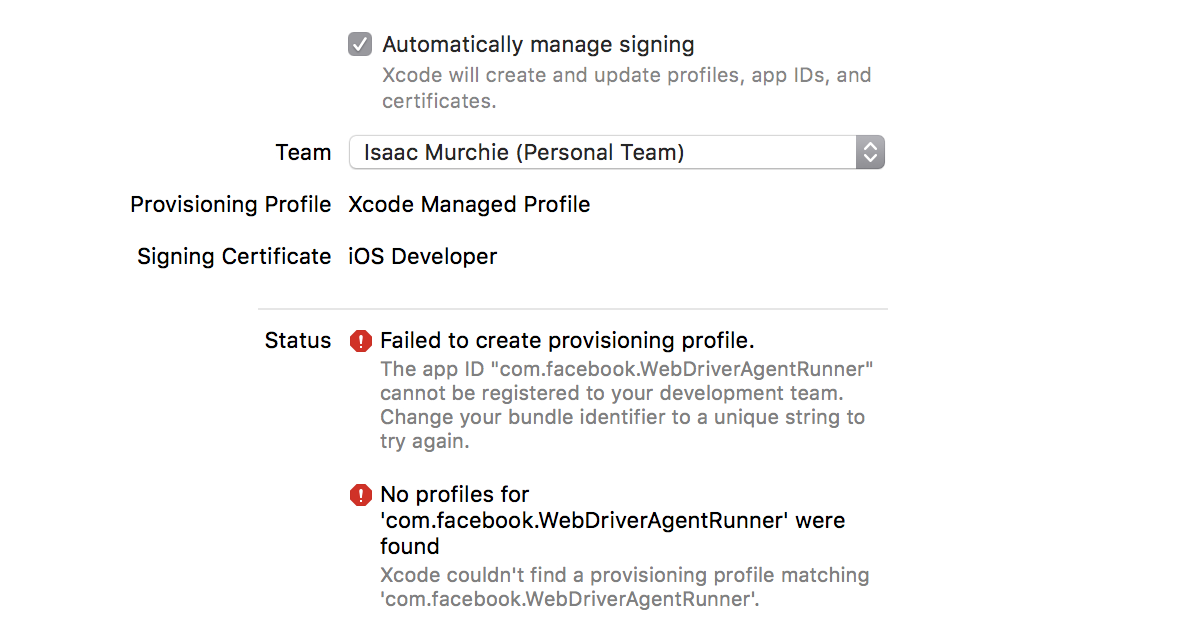
Xcode will likely fail to create a provisioning profile due to an invalid bundle identifier:
-
Change the Bundle Identifier from
com.facebook.WebDriverAgentRunnerto something that Xcode will accept. You can also do this in the Build Settings tab: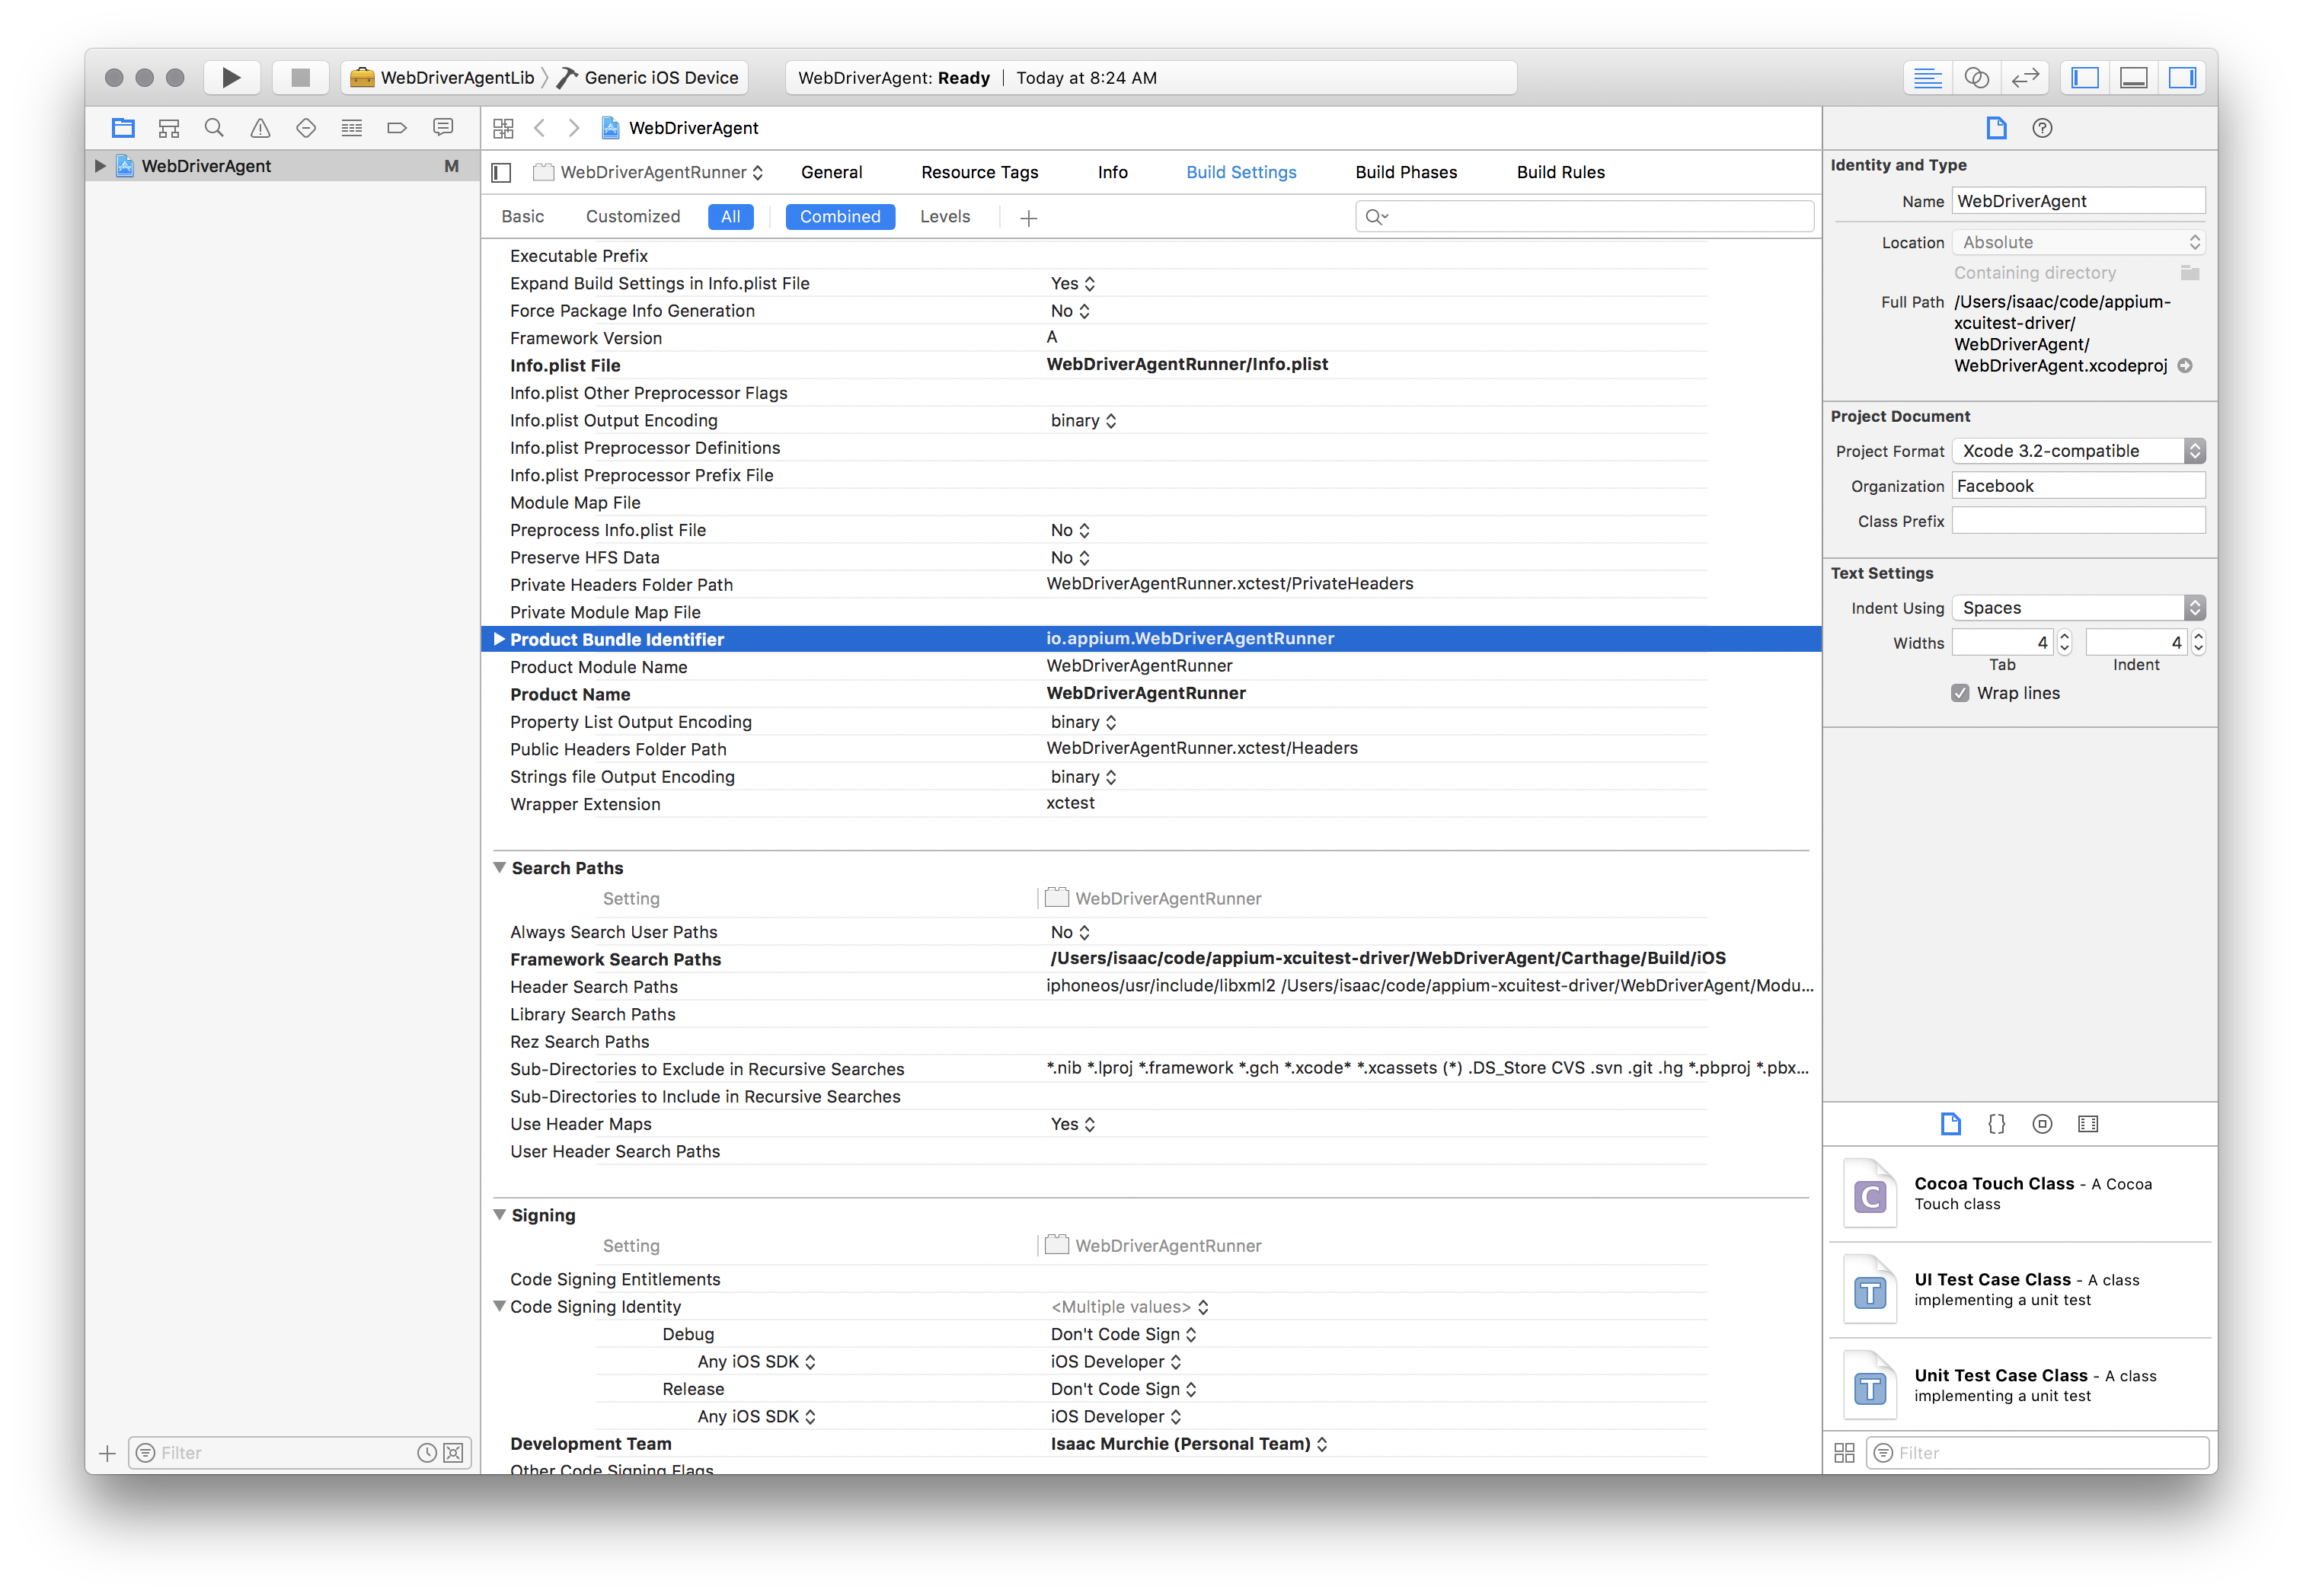
Note
Versions of Xcode older than 11 have a different naming convention. This feature may not work for a package which is built by Xcode versions below 12.
-
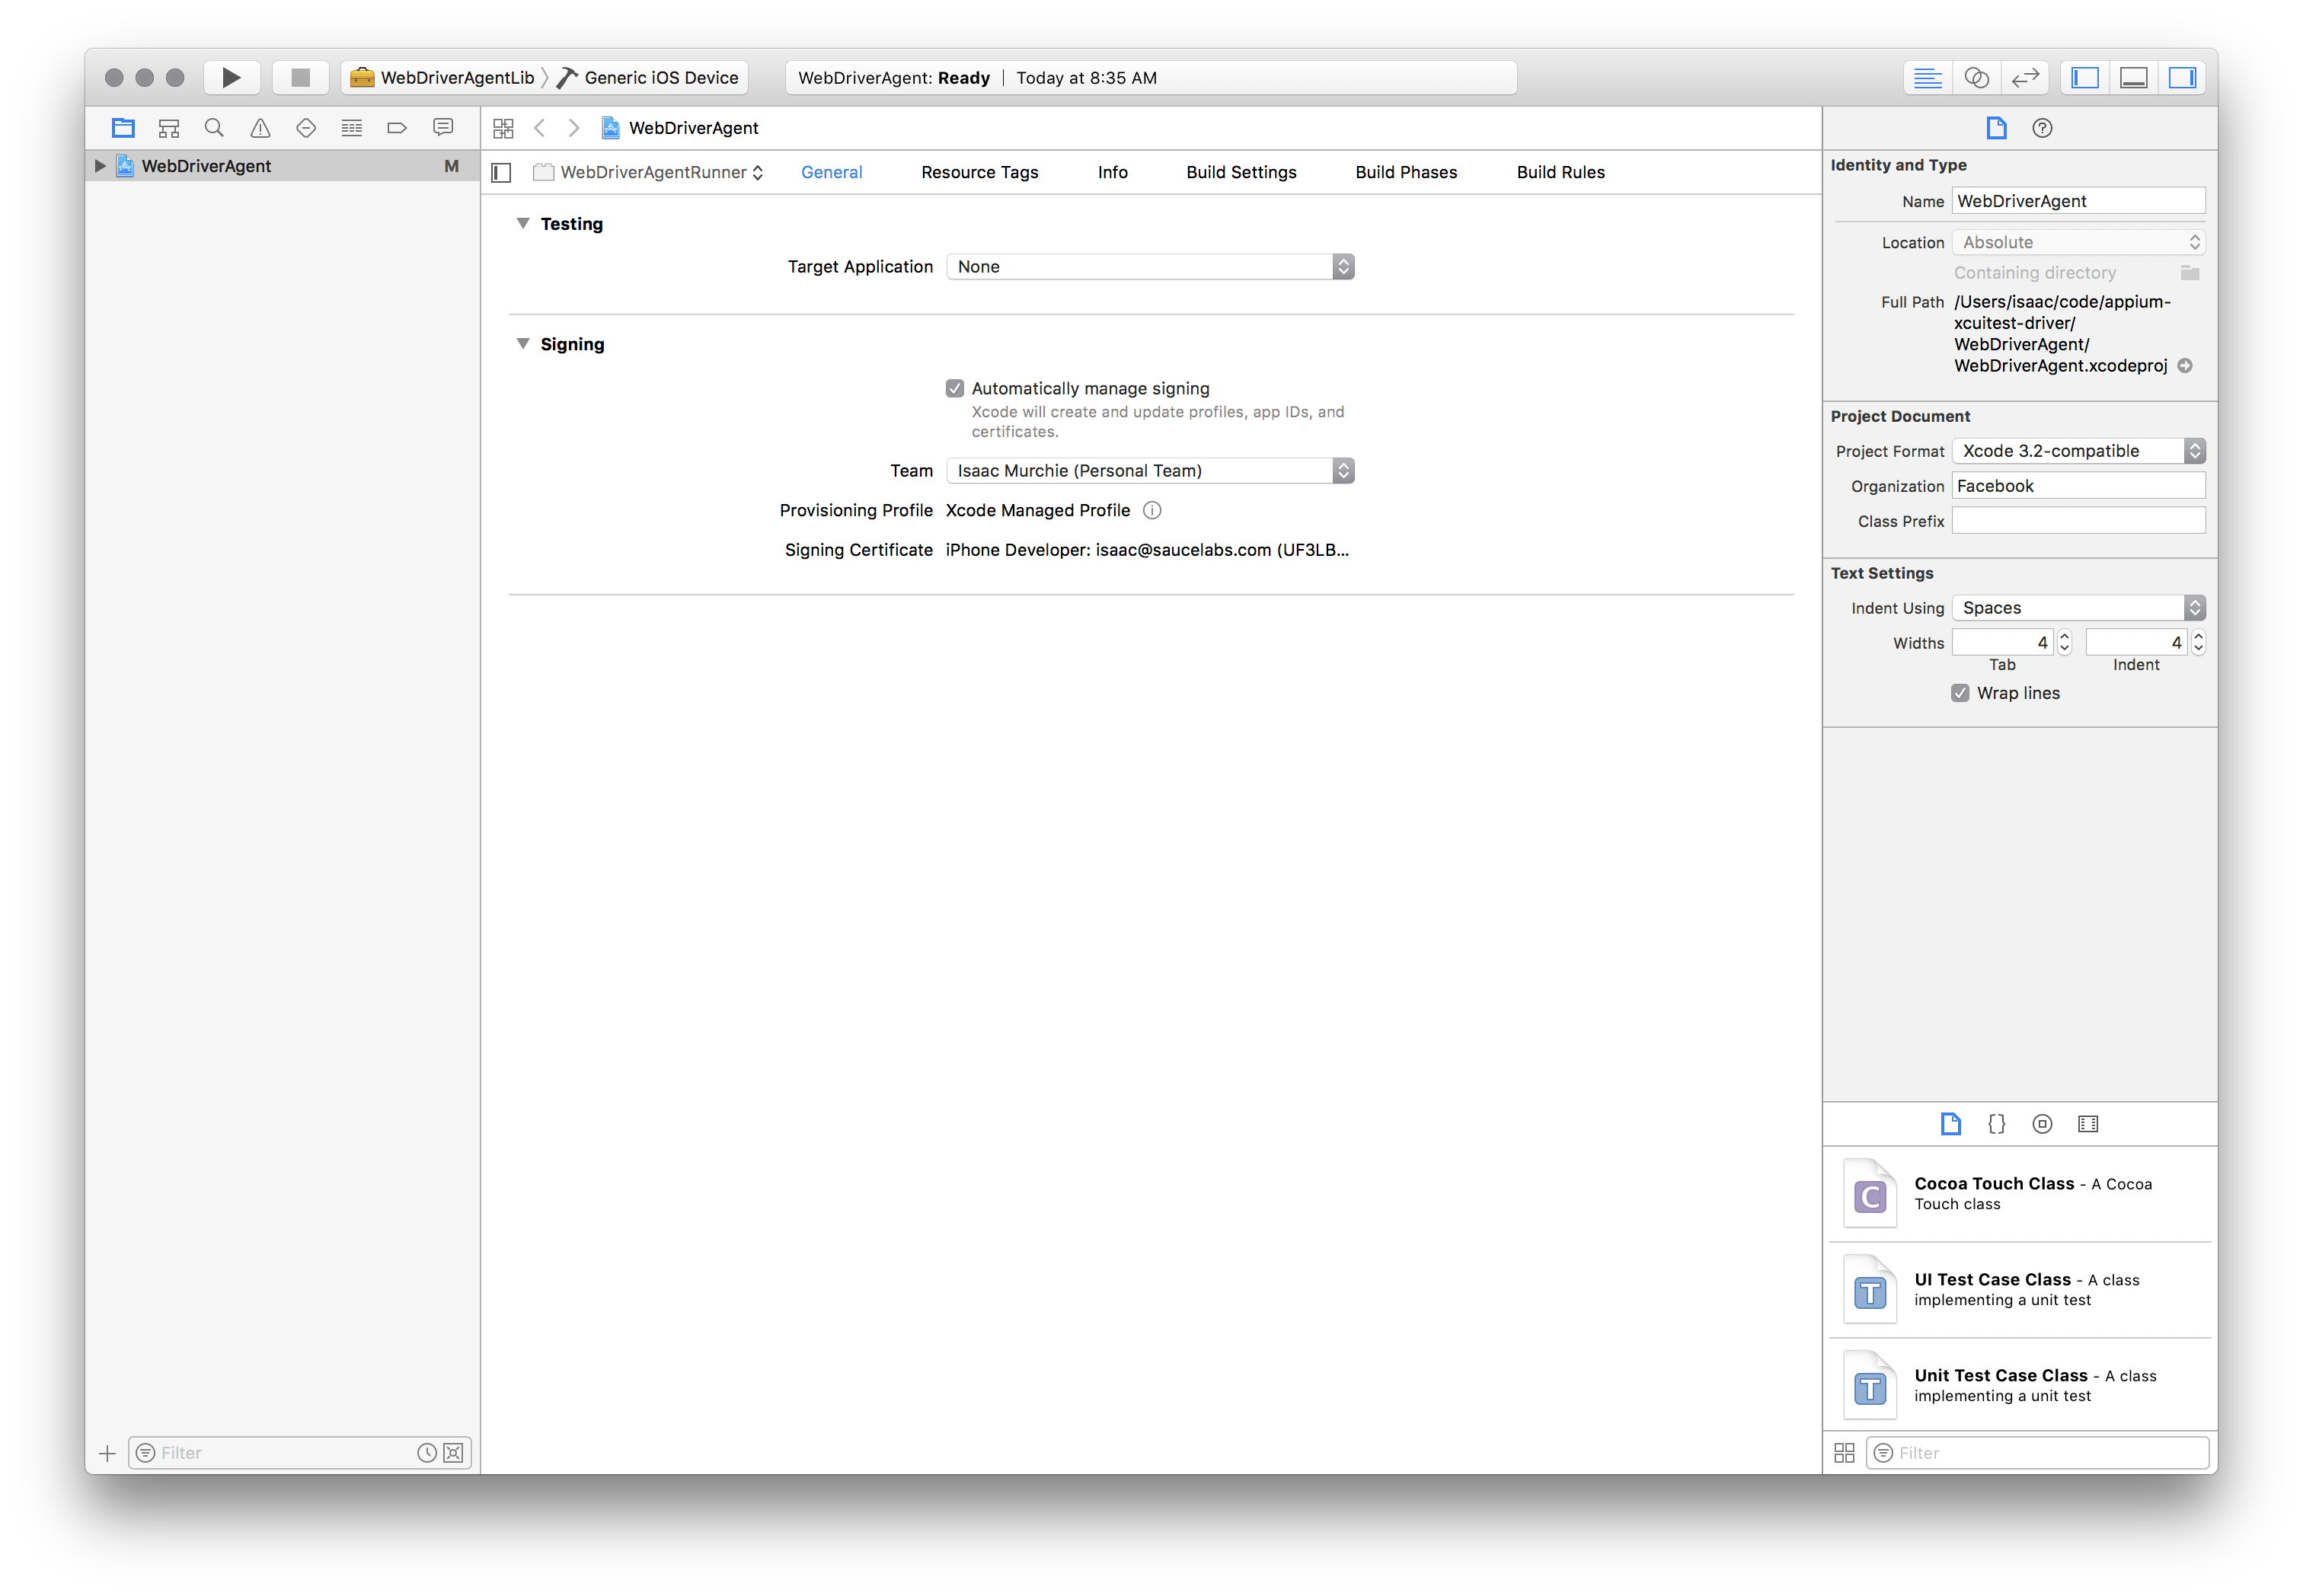
If your bundle identifier is accepted, you should see that Xcode has created a provisioning profile and all is well:
-
Finally, you can verify that everything works:
- Select the scheme as Product -> Scheme -> WebDriverAgentRunner
- Select your real device in Product -> Destination
- Select Product -> Test to build and install the WDA app
Proceed with Validating the WDA Install for the next steps!