Installation
This step is only relevant if using the Inspector desktop app or Appium plugin formats.
Appium Plugin
Like all Appium plugins, the Inspector plugin can be installed and activated using the Appium command line.
-
Install the plugin:
-
For Appium 3:
-
For Appium 2 (last compatible version):
-
-
Launch the Appium server with the plugin activated:
-
Open the Inspector URL in your web browser:
Info
Make sure the above host URL and port match those of the Appium server. The server's
base path value is irrelevant, as the plugin always uses the /inspector path.
Check the Troubleshooting guide if you are unable to create a session.
Desktop App
The app can be downloaded from the Inspector's GitHub repository. Different file formats are provided for each supported platform. In addition to manual downloads, there are also unofficial ways to install the app using the command line.
Windows
Manual Download
It is recommended to download the .exe installer file, as it supports checking for updates.
Since the app is currently not signed, Windows will show a security warning to prevent you from opening the installer file. This can be bypassed with sufficient user permissions:
Handling installation warnings on Windows
- Right-click on the installer file and click Properties - a new window should open.
- Near the bottom of the window, there will be an Unblock checkbox - check it.
- Click OK.
- You should now be able to open the installer without issues.
Alternatively, you can also bypass this after having opened the installer:
- Upon opening the installer, the following warning will likely be shown.
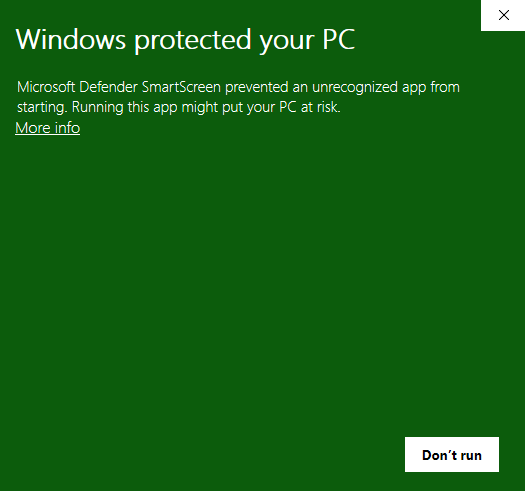
- Click More info - a new button Run anyway should appear at the bottom.
- Click Run anyway - the installer window should open.
After following the installer steps, the Inspector app should be installed, and you should be able to open it without any warnings.
WinGet
It is possible to install the Inspector through WinGet. Please note that this method is only community-supported, and is not maintained by the Appium team.
macOS
Manual Download
It is recommended to download the .dmg installer file, as it supports checking for updates.
Opening the file will open a simple window, showing icons for the Inspector and the Applications folder. Drag-and-drop the Inspector icon over the Applications icon to extract the app.
Since the app is currently not notarized, macOS will show various security warnings to prevent you from opening the app for the first time. These can be handled as described below:
Handling first-time warnings via command-line (any macOS)
Simply open your Terminal app and run the following command:
You should now be able to open the app with no warnings.
Handling first-time warnings via GUI (macOS Sequoia or later)
Note
If your Mac has an Apple chip, you can skip these steps by installing Appium Inspector v2024.9.1 (which should not show any warnings), then using the update checker to upgrade to the most recent version.
- Upon opening the app, the following warning will be shown. Click Done.

- Open macOS Settings -> Privacy & Security, then scroll down to the Security section. You should see the info text "Appium Inspector" was blocked to protect your Mac.
- Click Open Anyway.
- A prompt should appear - click Open Anyway again.
- A prompt should appear, requiring you to confirm the action using administrator user credentials.
- After confirming the action, the app should open.
Handling first-time warnings via GUI (macOS Sonoma or earlier)
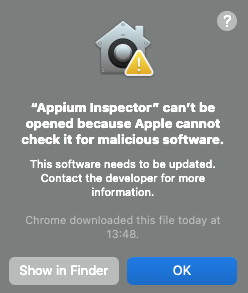
- Upon opening the app, the following warning will be shown. Click OK.
- Open Finder -> Applications and find Appium Inspector.
- Control+Click/click with two fingers on Appium Inspector and click Open.
- A prompt should appear - click Open again.
- After accepting the prompt, the app should open.
Homebrew
It is possible to install the Inspector through Homebrew. Please note that this method is only community-supported, and is not maintained by the Appium team.
Warning
This method is deprecated and will be disabled on September 1st, 2026, since the app is not notarized.
Linux
It is recommended to download the .AppImage file, as it supports checking for updates.
In order to open the file, its executable flag needs to be set first:
Afterwards, the app can be opened through the command line: